Chocolate Ice Cream
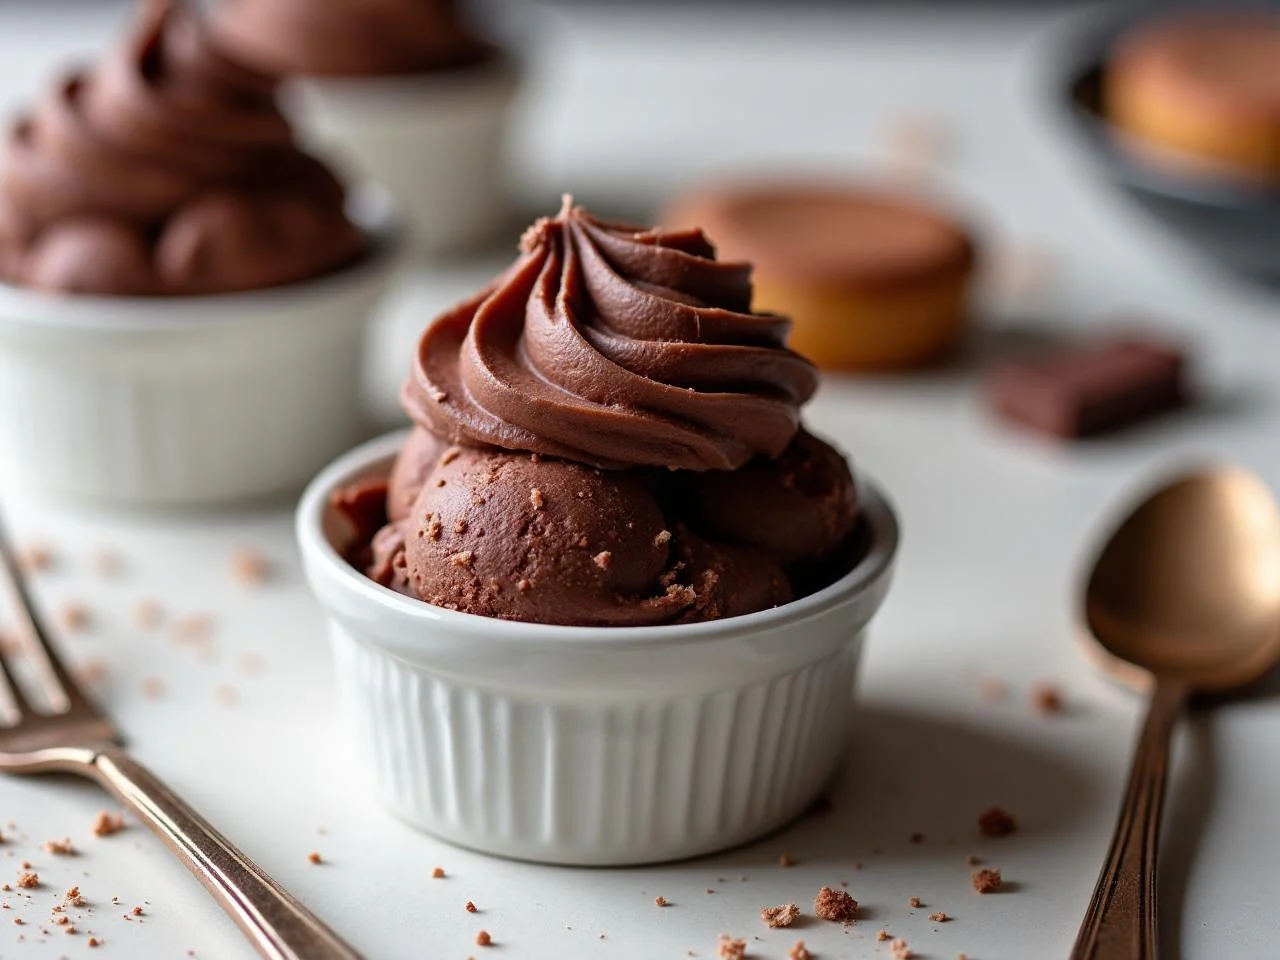
There's something undeniably special about a scoop of homemade chocolate ice cream on a warm summer day. The richness of the chocolate, the creaminess of the texture, and the joy of knowing you made it all from scratch in your own kitchen. As a pastry cook turned home kitchen teacher, I've always been fascinated by the magic of transforming simple ingredients into something truly decadent.
My journey with chocolate ice cream began years ago, when I first started experimenting with different flavors and techniques in my small home kitchen. I quickly learned that the key to a perfect scoop wasn't just about the ingredients, but about the process itself. From tempering the chocolate to churning the cream, every step mattered, and I was determined to master them all.
Today, I'm excited to share my recipe for chocolate ice cream with you, a recipe that's been perfected over years of trial and error, and one that I'm confident will become a staple in your home kitchen just as it has in mine. Whether you're a seasoned dessert lover or just starting to explore the world of homemade ice cream, this recipe is designed to guide you through the process with ease and precision.
So, let's get started on this chocolatey adventure! With a few simple ingredients, some basic equipment, and a bit of patience, you'll be enjoying the creamiest, most delicious chocolate ice cream you've ever tasted, all from the comfort of your own home.
This recipe is perfect for anyone looking to indulge in a rich, chocolatey treat without the hassle of complicated ingredients or techniques. It's a dessert that's sure to please both kids and adults alike, and one that can be easily customized with your favorite mix-ins or toppings.
Why You’ll Love This Recipe
- This recipe makes a rich and creamy chocolate ice cream that's perfect for hot summer days.
- The use of high-quality chocolate gives the ice cream a deep, satisfying flavor.
- The ice cream is easy to customize with your favorite mix-ins or toppings.
- The recipe is straightforward and easy to follow, even for beginners.
- The end result is a dessert that's sure to please both kids and adults alike.
- You can make it without an ice cream maker, although the texture might be slightly different.
- It's a great way to indulge in a chocolate treat without the hassle of complicated ingredients or techniques.
Why This Recipe Works
The secret to this chocolate ice cream's success lies in its balanced blend of ingredients and the careful attention paid to each step of the process. By using high-quality chocolate, fresh cream, and a touch of sugar, we create a rich and creamy base that's then churned to perfection in an ice cream maker.
One of the most critical steps in this recipe is tempering the chocolate. Tempering gives the chocolate its smooth, glossy appearance and satisfying snap when broken. It's a bit of a process, but trust me, it's worth the extra effort. To temper the chocolate, we'll be heating and cooling it to a specific temperature range, which will give us the perfect crystal structure for a smooth, creamy ice cream.
Another key factor in this recipe is the use of an ice cream maker. While it's possible to make ice cream without one, the churning process helps to incorporate air and break down the ice crystals, resulting in a smoother, more even texture. If you don't have an ice cream maker, don't worry! We'll also cover how to make this recipe without one.
Finally, the resting time is crucial. After churning, the ice cream needs a few hours to harden and set in the freezer. This allows the flavors to meld together and the texture to become even more creamy and smooth. So, be patient and let it rest – it's worth the wait!
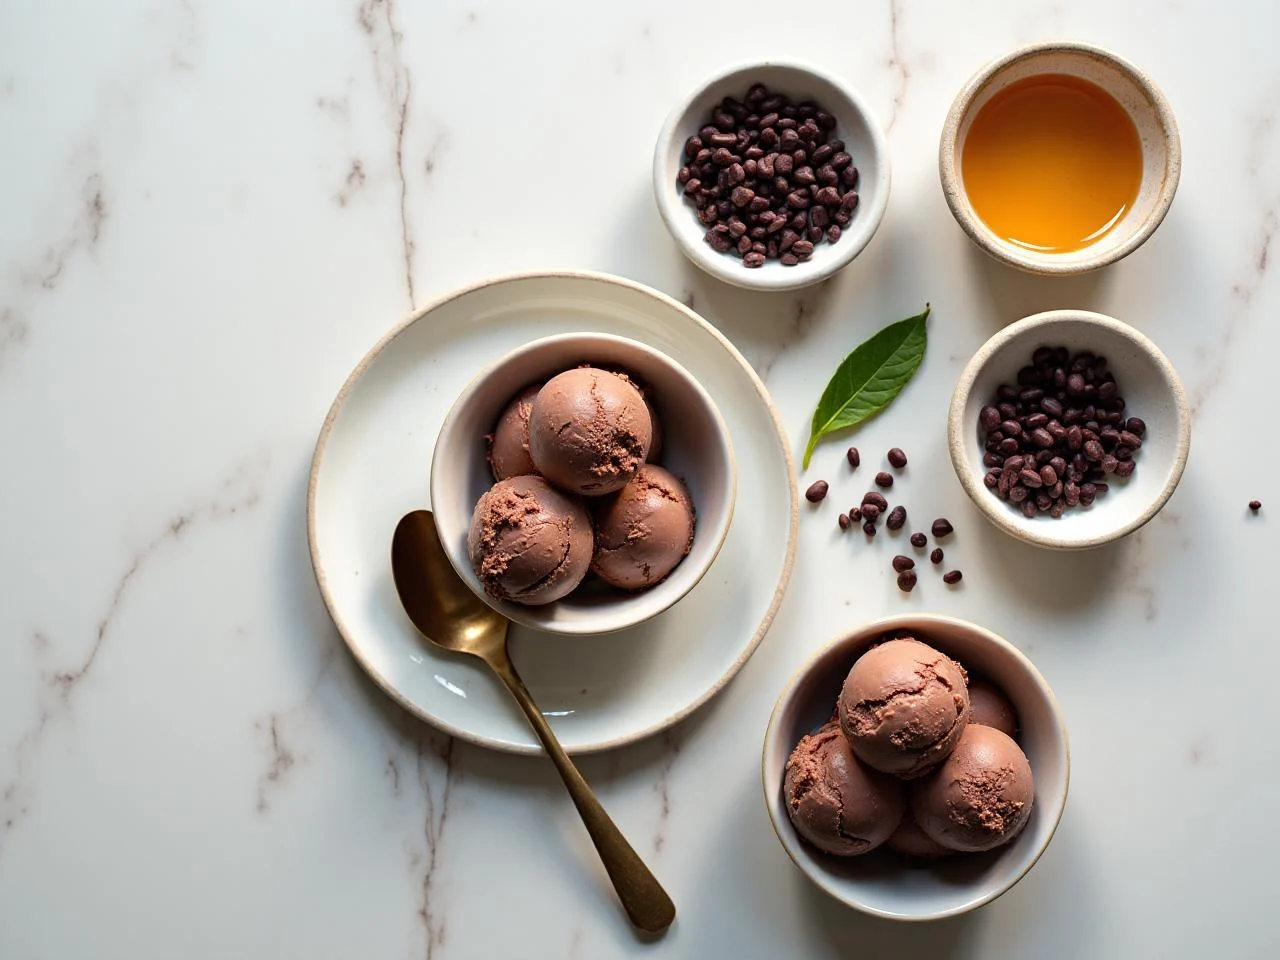
Ingredients You’ll Need
When it comes to making the perfect chocolate ice cream, the ingredients are just as important as the technique. You'll need a few basic ingredients, including high-quality chocolate, fresh cream, and a touch of sugar. Look for chocolate with a high cocoa content for the best flavor, and make sure your cream is fresh and cold.
In addition to these main ingredients, you'll also need a few other items, such as vanilla extract and a pinch of salt. Don't worry if you don't have an ice cream maker – we'll cover how to make this recipe without one. Just be sure to have all your ingredients ready and chilled before you start, as this will help the churning process go more smoothly.
- 2 cups (400g) high-quality dark chocolate chipsLook for chocolate with a high cocoa content for the best flavor. You can also use chopped chocolate bars or chocolate chunks if you prefer.
- 1 1/2 cups (360ml) heavy creamMake sure your cream is fresh and cold, as this will help the churning process go more smoothly.
- 1 cup (200g) granulated sugarYou can adjust the amount of sugar to your taste, but keep in mind that the chocolate will add a lot of richness to the ice cream.
- 1/2 cup (120ml) whole milkYou can use 2% or skim milk if you prefer a lighter ice cream, but keep in mind that the flavor and texture might be slightly different.
- 1 tsp (5ml) pure vanilla extractLook for high-quality vanilla extract for the best flavor. You can also use vanilla beans or vanilla powder if you prefer.
- 1/4 tsp fine saltA pinch of salt helps to balance the flavors in the ice cream and brings out the sweetness of the chocolate.
- 2 large egg yolksThe egg yolks help to enrich the ice cream and give it a creamy texture. Make sure to use room-temperature egg yolks for the best results.
- 1/2 cup (60g) unsweetened cocoa powderThe cocoa powder adds a deep, rich flavor to the ice cream and helps to intensify the chocolate flavor.
- 1 cup (120g) chopped nuts or chocolate chips (optional)You can customize your ice cream with your favorite mix-ins or toppings. Just be sure to add them towards the end of the churning process so they don't get broken up or distributed unevenly.
- 1/4 cup (30g) shaved chocolate or chocolate shavings (optional)You can use shaved chocolate or chocolate shavings to garnish your ice cream and add a touch of elegance to your dessert.
Equipment You’ll Need
How to Make Chocolate Ice Cream
- 1In a medium saucepan, combine the heavy cream, whole milk, granulated sugar, and fine salt. Heat the mixture over medium heat, stirring occasionally, until the sugar has dissolved and the mixture is hot but not boiling.
- 2Remove the mixture from the heat and let it cool to room temperature. Cover the mixture and refrigerate it for at least 2 hours or overnight.
- 3In a separate bowl, whisk together the egg yolks and unsweetened cocoa powder until well combined. Temper the egg yolks by slowly pouring the cooled cream mixture into the egg yolks, whisking constantly.
- 4Melt the chocolate chips in a double boiler or in the microwave in 30-second increments, stirring between each interval until smooth. Let the chocolate cool to room temperature.
- 5Once the chocolate has cooled, whisk it into the egg yolk mixture until well combined. Add the vanilla extract and whisk until smooth.
- 6Cover the mixture and refrigerate it for at least 2 hours or overnight. This will allow the flavors to meld together and the mixture to chill.
- 7Remove the mixture from the refrigerator and pour it into an ice cream maker. Churn the mixture according to the manufacturer's instructions.
- 8During the last 2 minutes of churning, add the chopped nuts or chocolate chips (if using) and continue to churn until they are fully incorporated.
- 9Transfer the ice cream to a freezer-safe container with a lid and cover it with plastic wrap or aluminum foil. Place the container in the freezer to harden for at least 2 hours.
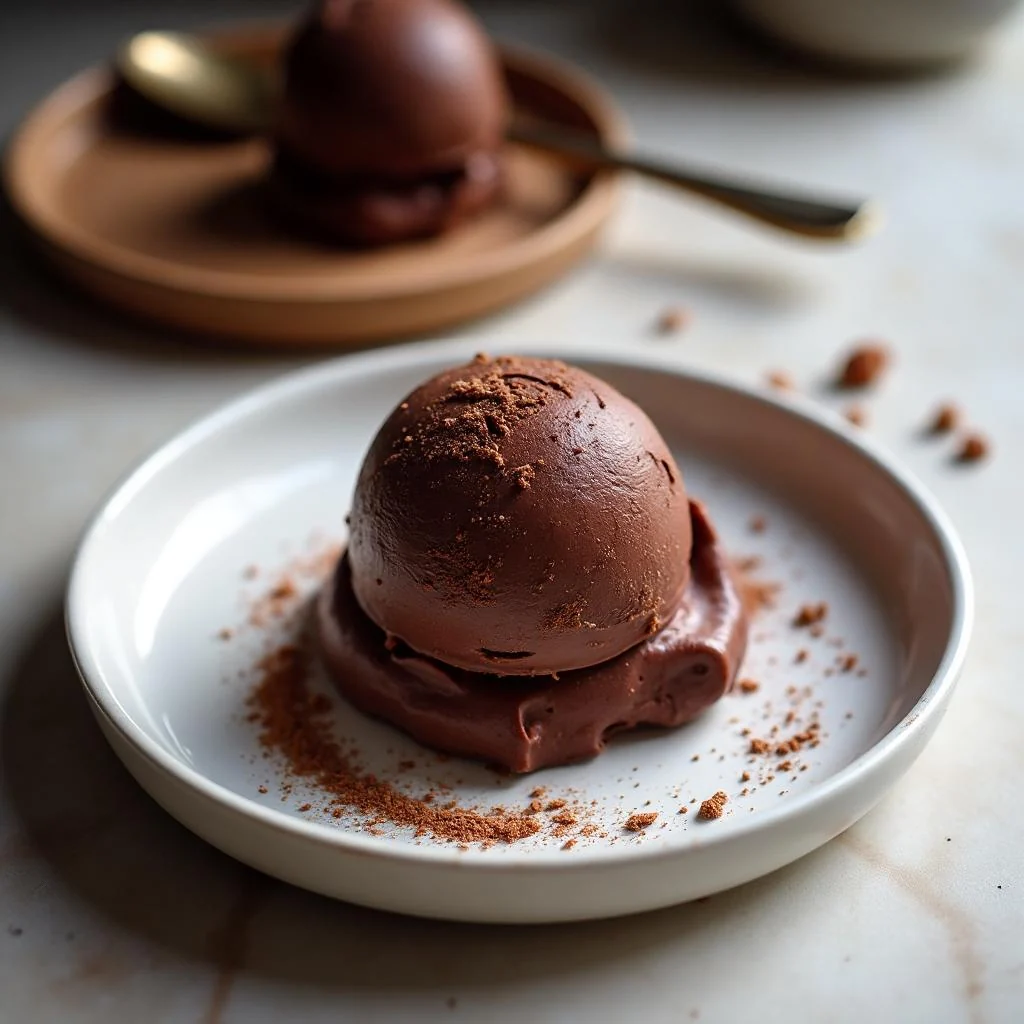
- 10Once the ice cream has hardened, scoop it into bowls and garnish with shaved chocolate or chocolate shavings (if desired). Serve immediately and enjoy!
- 11If you don't have an ice cream maker, you can also freeze the mixture in a shallow metal pan and then blend it in a food processor once it's frozen solid. This will give you a slightly chunkier texture, similar to gelato.
- 12To make the ice cream without an ice cream maker, pour the mixture into a 9x13 inch baking dish or a metal loaf pan. Cover the dish with plastic wrap or aluminum foil and place it in the freezer. Every 30 minutes, remove the dish from the freezer and use a fork to scrape the mixture and break up any ice crystals that have formed. Repeat this process for 2-3 hours, or until the ice cream has reached the desired consistency.
Expert Tips
- Use high-quality chocolate for the best flavor.
- Make sure your cream is fresh and cold, as this will help the churning process go more smoothly.
- Don't over-churn the ice cream, as this can make it too dense and icy.
- Add mix-ins or toppings towards the end of the churning process so they don't get broken up or distributed unevenly.
- Experiment with different flavors and mix-ins to create unique and delicious variations.
- If you're having trouble getting the ice cream to churn, try adding a little more cream or sugar to the mixture.
- To make the ice cream more scoopable, try adding a little more air to the mixture by whipping it with a hand mixer or whisk before freezing.
- Consider using a ice cream maker with a built-in freezer, as this will make the churning process easier and more efficient.
Common Mistakes to Avoid
- Not tempering the chocolate properly, which can result in a grainy or uneven texture.
- Not chilling the mixture long enough, which can result in an icy or crystalline texture.
- Over-churning the ice cream, which can make it too dense and icy.
- Not adding mix-ins or toppings at the right time, which can result in an uneven distribution of flavors and textures.
- Not using high-quality ingredients, which can result in a subpar flavor and texture.
- Not following the recipe instructions carefully, which can result in a failed or uneven batch of ice cream.
Variations and Substitutions
- Add a pinch of salt to balance the flavors and bring out the sweetness of the chocolate.
- Use different types of milk, such as almond or soy milk, to create a non-dairy version of the ice cream.
- Add a teaspoon of instant coffee or espresso powder to create a mocha-flavored ice cream.
- Use different types of chocolate, such as white or milk chocolate, to create a unique and delicious variation.
- Add a handful of chopped nuts or candy pieces to create a fun and playful texture.
- Experiment with different flavor combinations, such as strawberry and balsamic or peanut butter and jelly, to create a unique and delicious ice cream.
What to Serve With Chocolate Ice Cream
Serve the chocolate ice cream in bowls or cones and garnish with your favorite toppings, such as whipped cream, chopped nuts, or shaved chocolate. You can also use the ice cream as a base for sundaes, milkshakes, or other desserts.
Consider pairing the ice cream with other desserts, such as brownies, cookies, or cakes, for a decadent and indulgent treat. You can also use the ice cream as a topping for fruit or other desserts, such as pies or tarts.
Make-Ahead, Storage, Freezing and Reheating
To store the ice cream, transfer it to a freezer-safe container with a lid and cover it with plastic wrap or aluminum foil. Place the container in the freezer and store it for up to 3 months.
To make ahead, prepare the mixture and chill it in the refrigerator for up to 24 hours before churning. You can also freeze the churned ice cream for up to 2 months and then thaw it in the refrigerator or at room temperature when you're ready to serve it.
To reheat the ice cream, simply remove it from the freezer and let it sit at room temperature for 10-15 minutes. You can also reheat it in the microwave in 10-second increments, stirring between each interval, until it reaches the desired consistency.
Keep in mind that the ice cream will be more prone to melting and becoming icy if it's stored for too long or reheated too many times. To prevent this, try to store it in the coldest part of the freezer and reheat it only when necessary.
Frequently Asked Questions
What type of chocolate should I use for this recipe?
You can use any type of chocolate you like, but high-quality dark chocolate with a high cocoa content will give you the best flavor.
Can I make this recipe without an ice cream maker?
Yes, you can make this recipe without an ice cream maker. Simply pour the mixture into a 9x13 inch baking dish or a metal loaf pan and freeze it in the freezer, stirring every 30 minutes until it reaches the desired consistency.
How long will the ice cream keep in the freezer?
The ice cream will keep in the freezer for up to 3 months. Simply transfer it to a freezer-safe container with a lid and cover it with plastic wrap or aluminum foil.
Can I customize the recipe with different mix-ins or toppings?
Yes, you can customize the recipe with different mix-ins or toppings. Simply add them towards the end of the churning process or after the ice cream has finished churning.
What's the best way to store the ice cream to prevent it from becoming icy?
To prevent the ice cream from becoming icy, store it in the coldest part of the freezer and avoid reheating it too many times. You can also try adding a little more air to the mixture by whipping it with a hand mixer or whisk before freezing.
Can I make this recipe ahead of time?
Yes, you can make this recipe ahead of time. Simply prepare the mixture and chill it in the refrigerator for up to 24 hours before churning. You can also freeze the churned ice cream for up to 2 months and then thaw it in the refrigerator or at room temperature when you're ready to serve it.
How do I know when the ice cream is ready?
The ice cream is ready when it has finished churning and has reached the desired consistency. This can take anywhere from 15-30 minutes, depending on the type of ice cream maker you're using and the temperature of the mixture.
Can I use this recipe as a base for other flavors?
Yes, you can use this recipe as a base for other flavors. Simply substitute the chocolate with a different flavor ingredient, such as vanilla or strawberry, and adjust the mix-ins and toppings accordingly.
Ingredients
- 2 cups (400g) high-quality dark chocolate chips
- 1 1/2 cups (360ml) heavy cream
- 1 cup (200g) granulated sugar
- 1/2 cup (120ml) whole milk
- 1 tsp (5ml) pure vanilla extract
- 1/4 tsp fine salt
- 2 large egg yolks
- 1/2 cup (60g) unsweetened cocoa powder
- 1 cup (120g) chopped nuts or chocolate chips (optional)
- 1/4 cup (30g) shaved chocolate or chocolate shavings (optional)
Instructions
- In a medium saucepan, combine the heavy cream, whole milk, granulated sugar, and fine salt. Heat the mixture over medium heat, stirring occasionally, until the sugar has dissolved and the mixture is hot but not boiling.
- Remove the mixture from the heat and let it cool to room temperature. Cover the mixture and refrigerate it for at least 2 hours or overnight.
- In a separate bowl, whisk together the egg yolks and unsweetened cocoa powder until well combined. Temper the egg yolks by slowly pouring the cooled cream mixture into the egg yolks, whisking constantly.
- Melt the chocolate chips in a double boiler or in the microwave in 30-second increments, stirring between each interval until smooth. Let the chocolate cool to room temperature.
- Once the chocolate has cooled, whisk it into the egg yolk mixture until well combined. Add the vanilla extract and whisk until smooth.
- Cover the mixture and refrigerate it for at least 2 hours or overnight. This will allow the flavors to meld together and the mixture to chill.
- Remove the mixture from the refrigerator and pour it into an ice cream maker. Churn the mixture according to the manufacturer's instructions.
- During the last 2 minutes of churning, add the chopped nuts or chocolate chips (if using) and continue to churn until they are fully incorporated.
- Transfer the ice cream to a freezer-safe container with a lid and cover it with plastic wrap or aluminum foil. Place the container in the freezer to harden for at least 2 hours.
- Once the ice cream has hardened, scoop it into bowls and garnish with shaved chocolate or chocolate shavings (if desired). Serve immediately and enjoy!
- If you don't have an ice cream maker, you can also freeze the mixture in a shallow metal pan and then blend it in a food processor once it's frozen solid. This will give you a slightly chunkier texture, similar to gelato.
- To make the ice cream without an ice cream maker, pour the mixture into a 9x13 inch baking dish or a metal loaf pan. Cover the dish with plastic wrap or aluminum foil and place it in the freezer. Every 30 minutes, remove the dish from the freezer and use a fork to scrape the mixture and break up any ice crystals that have formed. Repeat this process for 2-3 hours, or until the ice cream has reached the desired consistency.